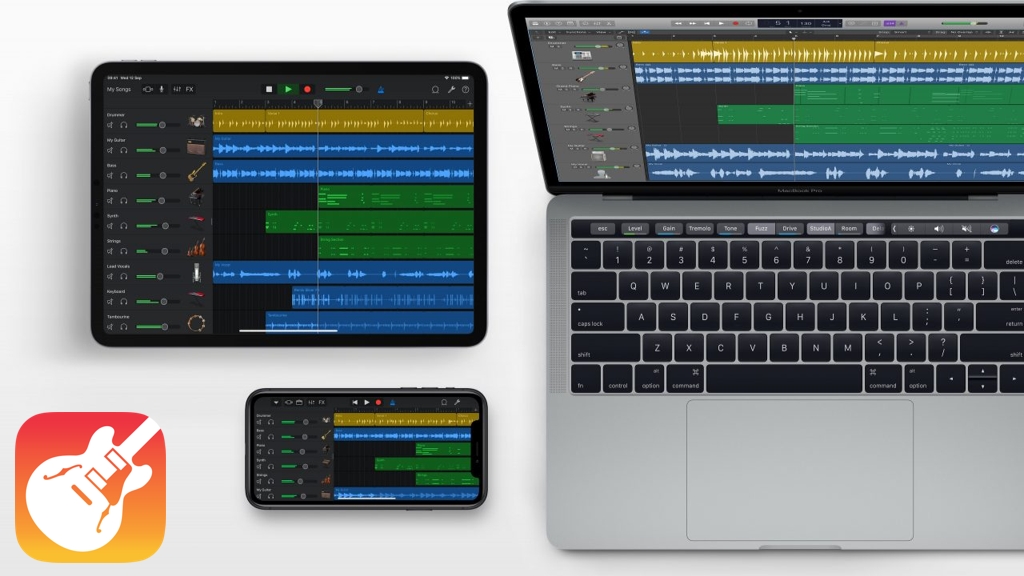
GarageBand is a powerful and easy-to-use music-making software for Mac OS that lets you create your own beats. You can use a wide range of instruments and sounds to create your own unique beats. You can also mix and match different genres of music to create your own unique sound.
GarageBand is a music production software that enables users to create music beats. It is available for both Mac and PC, but this article will focus on the Mac version. The software is easy to use and has a wide range of features that make it a powerful tool for music production.
One of the great things about GarageBand is that it is very affordable. It only costs $200, which is a fraction of the cost of other music production software. GarageBand is also very user-friendly. Even if you’ve never used a music production software before, you’ll be able to figure out how to use GarageBand with ease.
GarageBand comes with a wide variety of features that will enable you to create professional-sounding music beats. For example, the software includes a wide range of drum kits and percussion instruments that you can use to create your beats. You can also use GarageBand’s synthesizers to create unique sounds.
If you’re looking for a beat making software that is easy to use and comes with a wide range of features, then GarageBand is the perfect choice for you.
Step-by-Step Guide How to Use GarageBand Beat Making Software
- The first thing you need to do is open up GarageBand on your computer. Once it is open, you should see a window that looks like this:
- The next thing you need to do is click on the “File” tab at the top of the window. Once you click on that, a drop-down menu should appear. From there, you need to click on “New Project”.
- A new window will pop up asking you to choose a project type. For this guide, we will be choosing “Empty Project”. Once you have selected that, click on the “Choose” button at the bottom of the window.
- Now that you have an empty project, the next thing you need to do is add a track. To do that, click on the “Plus” sign at the bottom of the tracks area.
- A new window will pop up asking you to choose a track type. For this guide, we will be choosing “Software Instrument”. Once you have selected that, click on the “Create” button at the bottom of the window.
- Now that you have added a track, the next thing you need to do is choose an instrument. To do that, click on the “Instrument” drop-down menu at the top of the window and choose an instrument from the list.
- Once you have chosen an instrument, the next thing you need to do is start playing around with it. To do that, simply click on the keys in the piano roll area or use your computer keyboard to play the notes.
- If you want to record your performance, the next thing you need to do is click on the “Record” button at the bottom of the window. Once you have finished recording, click on the “Stop” button.

 What Is GarageBand Beat Making and How to Use?
 Best Apps Similar to GarageBand Beat Making Software