How To Make Salami Without Starter Culture?
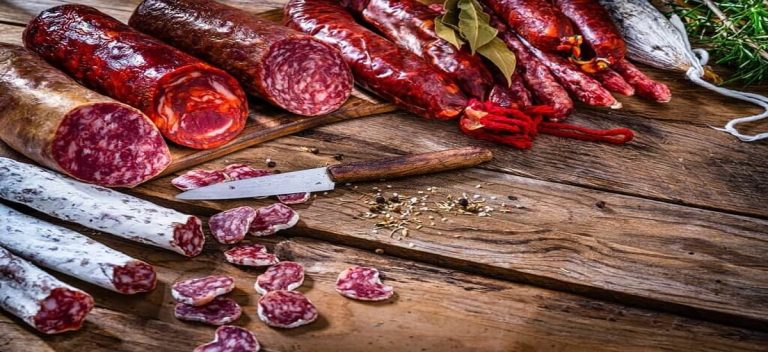
If you’ve ever thought about making your salami, you’ve probably researched many different ways to produce the meat.
Have you ever considered making salami without a starter culture?
You can make salami without a starter culture, but the meat will taste different. Since you’ll be using salt curing, you’ll get a more traditional flavor.
However, there’s a catch: you must make sure the brine is salty. That’s why we recommend you use kosher salt, but regular table salt can work too.
Picking the right meat, curing, grinding, stuffing, fermenting, drying, and storing are important steps in the process.
Everything you need to know about the process can be found in this article.
Table of Contents
Do You Really Need Starter Culture for Salami?
We should discuss starter cultures and how they work. A starter culture is a mixture of different strains of bacteria.
They have multiple benefits when mixed with meat. They make the meat safe to eat by improving the color, flavor, and smell.
Do starter cultures need to be used for salami? The answer to this is no. It’s possible to make salami without a starter culture.
Before starter cultures were available for purchase, this traditional method of cooking meat existed.
In this case, you don’t add starter cultures at all, but there are different steps you have to follow to make sure your salami is safe to use.
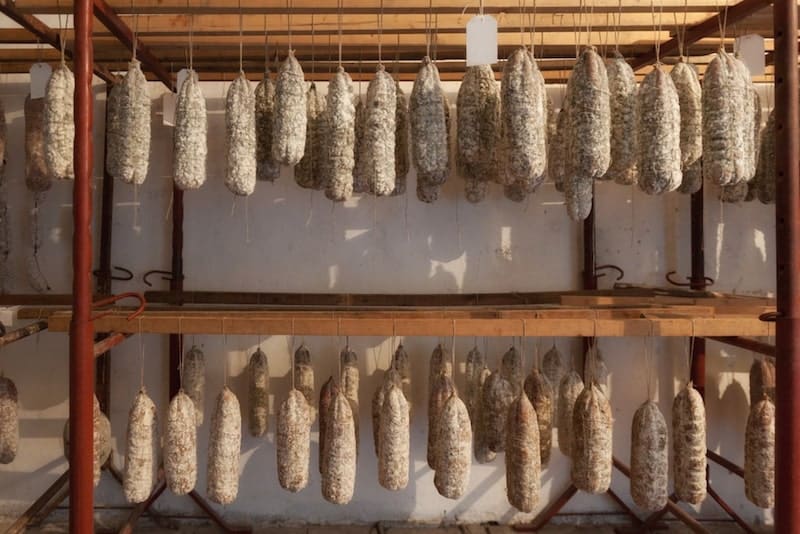
How to Make Salami Without Starter Culture
If you don’t add starter cultures, you have to rely on the bacteria that already exist in the salami. We are going to take a look at how to make salami without starter cultures.
Select the Right Meat
It is important to choose meat that is fresh since it reduces the chance of it being contaminated with bacteria.
It’s important to note that the meat of a healthy animal isn’t contaminated with bacteria. It is important to make sure you adequately handle the meat.
The quicker you process the meat, the less likely it will be to be contaminated.
It is important to reduce the risk as much as possible even though it is not possible to eliminate bacteria.
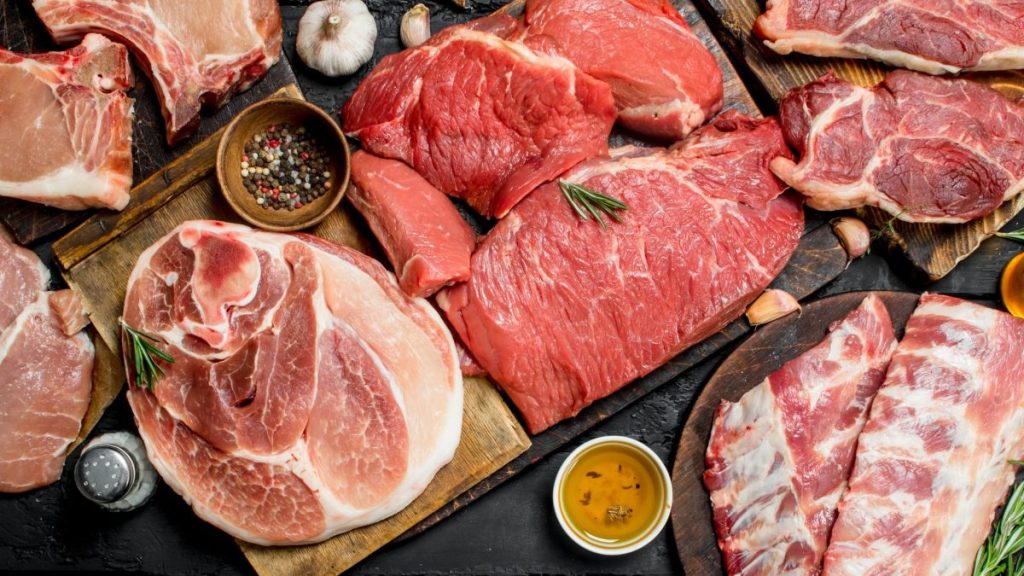
Curing
Salt and sugar are added to the meat in this stage.
If you want to keep your meat safe, you should add curing salt, a preservative that will destroy the harmful bacteria in your meat and keep it safe.
You can increase the flavor, smell, and color of the meat when it is cured. During this time, you give the good bacteria time to develop.
There will also be harmful bacteria that develop. The growth of these bacteria will be slowed because they are not salt resistant, and you add salt and nitrates.
Grinding
This step isn’t mandatory, but if you grind the meat, the mix from the previous step will penetrate it. It is necessary to do so at low temperatures, not higher than 54 F (12C).
Putting the Meat in Casings
There are many options here, you can choose from natural or synthetic fibers with different diameters.
If you choose a natural one, you should be aware that the animal’s gut is contaminated with bacteria.
Even though they have been cleaned and washed, you should always take extra precautions to make them 100% safe since they can be contaminated when they come into contact with meat.
Steps you need to follow:
- You need to thoroughly inspect the casings. They should be white.
- You need to salt them and keep them in the fridge.
- You should desalt them in cold water before stuffing them.
- You can use 2% vinegar to make them clean and safe.
Fermentation
This is a crucial step where you increase the temperature of the meat to make it grow better.
Lower temperatures are recommended since you are making salami without a starter culture.
For example, if the temperature is 66-76 F (18-23 C), the fermentation will last for about 1-2 days.
If the temperature is around 50-54 F (10-12 C), it will take about a week for the yeast to ferment.
It is necessary to use a pH meter to check the acidity of the salami in this step. When the fermentation process is over, you can’t be sure without it.
The pH for the traditionally prepared salami should be around 5.2.
It’s important to pay attention to humidity, which should be kept at around 90-95 percent.
Drying
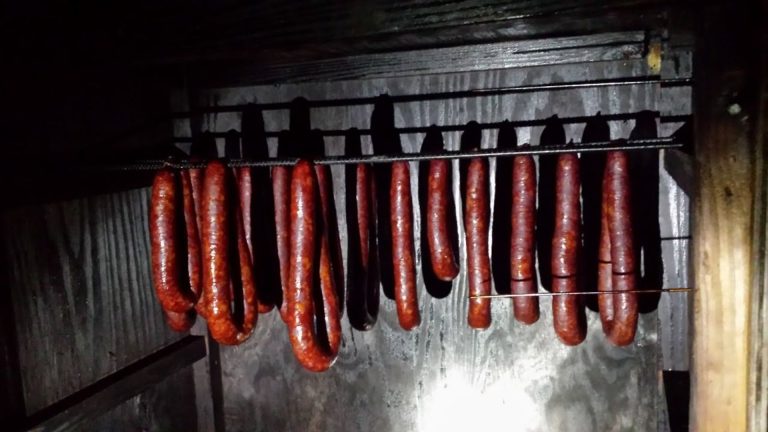
This is the longest part of the entire process. It lasts about 3 months and is accomplished at a temperature of 50-58 F.
The period of drying can be shortened when the temperature goes up. The amount of humidity should vary between 70 to 85%.
The best results can be achieved by gradually lowering the humidity to 75%.
Factors that influence the drying time are:
- Size of casings – if the size is bigger it will take more time.
- The fat content in the meat – more fat – fast drying time
- Humidity and temperature – higher temperature and lower humidity results in faster drying.
- Airspeed – the more the airspeed, the faster the drying time.
Storing
When the water activity is less than 0.89, your salami will be ready to be stored at a cooler temperature. It should be kept in a place that is warm and dark.
Any higher level of humidity can cause mold growth and should be kept at around 75%.
Tips
Here are some tips you need to follow:
- First of all, make sure the area and equipment you are working with are clean.
- It is important to prevent bacteria from spreading around the room and possibly infecting the meat by mixing all the ingredients with no water.
- Fresh spices are not used in traditional meat preparation methods because bacteria can easily grow in moist areas.
- It’s a good idea to avoid using them if you want to make salami without a starter culture.
- If you want to grind large amounts of meat, take it out of the fridge.
- You should only take what you need so that the meat doesn’t go bad.
Conclusion
You can enjoy this delicious sausage by only adding ingredients of your liking after you have learned how to make it without starter culture.
This will prove to be cost-effective and will allow you to try different techniques to get the best results.
Make sure you follow our step-by-step guide and all the additional tips because you can’t go wrong.

Foodie and a passionate cook, I am here to share all of what I know about cooking, kitchen, and food prepping.
Follow me for delicious and healthy recipes.

