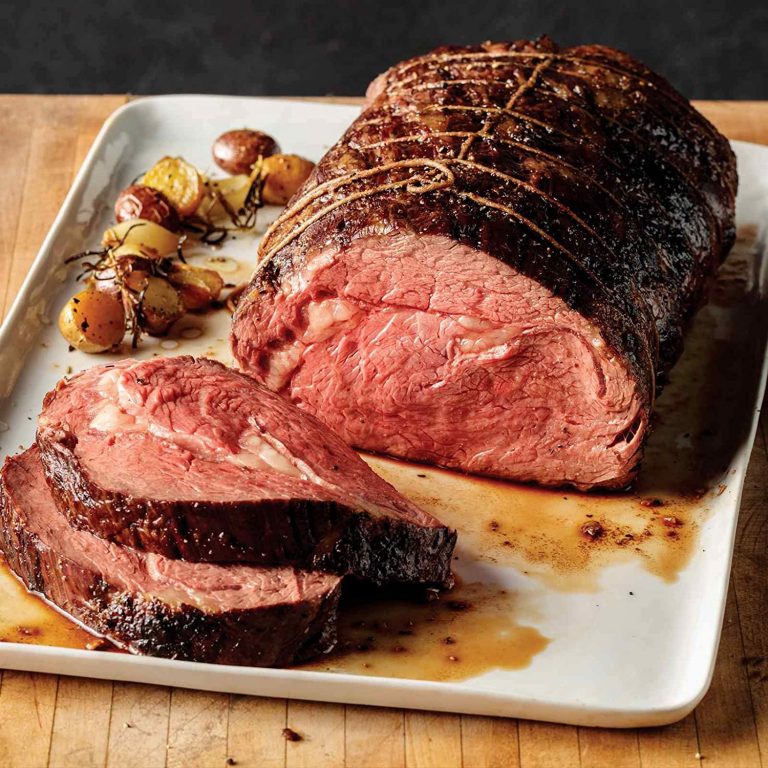
Sous Vide Homebrewing Guide
Sous vide cooking is a method of homebrewing that is relatively new to the mainstream market but has been growing in popularity amongst professionals for years now.
While most people know of homebrewing in the context of beer, sous vide is a more general term that encompasses a variety of applications, including a number of different types of food, like meats, vegetables, and desserts.
Sous vide cooking offers many advantages over conventional methods of cooking, including the fact that it allows food to retain moisture better, resulting in higher quality and longer-lasting results.
In addition to being more convenient, the process is also faster, cheaper, and healthier than conventional cooking methods.
Table of Contents
Can you use a sous vide for brewing beer?
Yes! If you’re looking to replicate the craft brewing process using a home setup, sous vide is a great way to achieve this.
You can use sous vide water bath for a variety of different types of beer, including pale ale, IPA, pilsner, etc.
I’ll walk through some of the details of how to do this, and give you some links to the best resources out there for learning about sous vide cooking and the equipment you need to get started.
The first thing you need to know about sous vide cooking is that it’s not an easy process.
How to Brew Your First All Grain BIAB Beer with Sous Vide Cooker

Why BIAB beer is the best for your home brewery
We’ve already covered why it’s important to start a home brewery. Now we’ll dig deeper into why batch in a brew kettle rather than a pot (and what this means to you).
For starters, batch in a brew kettle gives you more control over the process than batch in a pot, which means that you can produce beer with consistency and accuracy.
It also means you can more easily experiment with hops, yeasts, and other ingredients—so that you can make the perfect beer.
And finally, batch in a brew kettle means that you won’t be losing any valuable wort to evaporation—so you’ll be saving money.
All in all, batching in a brew kettle means more than just convenience and consistency; it also means better beer.
Why Batch in a Brew Kettle?
There are a few reasons why you should be batching in a brew kettle. Let’s look at them.
More Control
One of the most important benefits of batching in a brew kettle is that you can control the process and make more consistent beer.
As a homebrewer, you may have tried batching in a pot, and you know how difficult it can be to get the right amount of wort every time.
You may also be familiar with how difficult it can be to control the temperature of your wort. In either case, batching in a brew kettle gives you much more control over the brewing process.
Because you have a large volume of wort available, you can use the same amount of hops and other ingredients each time.
How to Sanitize Your Brewing Equipment
For your fermenting equipment to be sanitized properly, it should be cleaned by soaking in a solution of 1 part chlorine bleach to 2 parts water.
For equipment that has already been used, you can make a solution of one cup chlorine bleach to 16 cups of water, and soak all equipment in the solution for at least 10 minutes.
Be sure not to immerse your airlocks or thermometers in the solution as this could cause corrosion. Also, be careful to sanitize equipment before using it.
If you’ve been fermenting for a while and are running low on sanitizer, try this: Mix one cup of chlorine bleach with one quart of water, and store it in a spray bottle.
Spray the surface of your fermenting container with the solution until it is completely dry, then place your fermenting lid on top of the sanitized container.
Let the container sit for an hour, then remove the lid and sanitize the inside of the lid and the outside of the container.
You can use this method for any piece of equipment that needs to be sanitized.
How to Prepare Water for Brewing
For brewing, first, make sure that the water you use is clean and fresh.
Always filter the water before you put it into the brewing kettle, and boil the filtered water at least 10-15 minutes prior to your actual brew day.
When boiling, it is important to keep an eye on the water so that it does not get too hot, as this may damage the quality of your beer.
Boil water for 5-10 minutes then let it cool. Now pour this into your brewing vessel and add the required amount of hops. This will help you to make good beer.
What is strike water in brewing?
Strike water, also known as kettle water, is water that is added to the mash tun or wort kettle before the grain is added.
It can be added either by dripping it on the top of the grain, pouring it over the grain, or sprinkling it on the grain.
Good strike water will add needed minerals and sugars into the mash. It is important to understand the concept of strike water.
Strike water is used to remove some dissolved proteins from the wort or beer. When the wort is boiled, some proteins will dissolve and it can cause haze or off-flavors in the beer.
Strike water helps to keep the proteins in suspension so that they are not left behind in the wort.
How to Mash
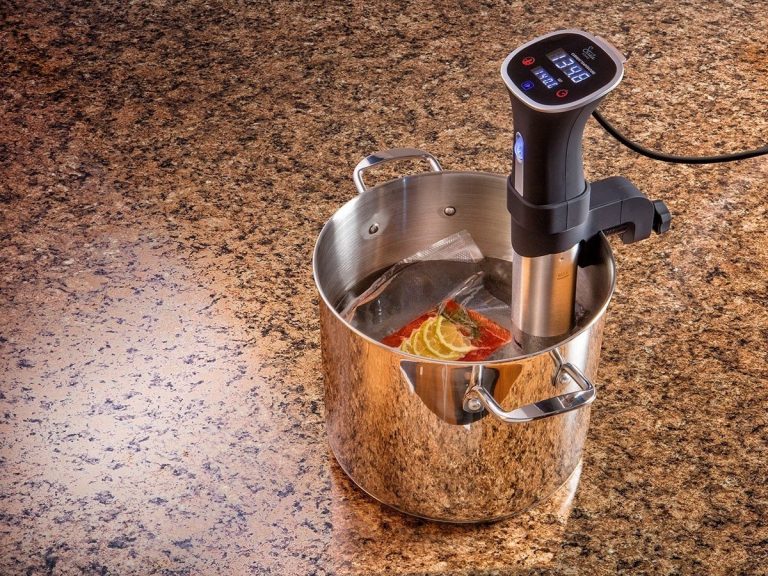
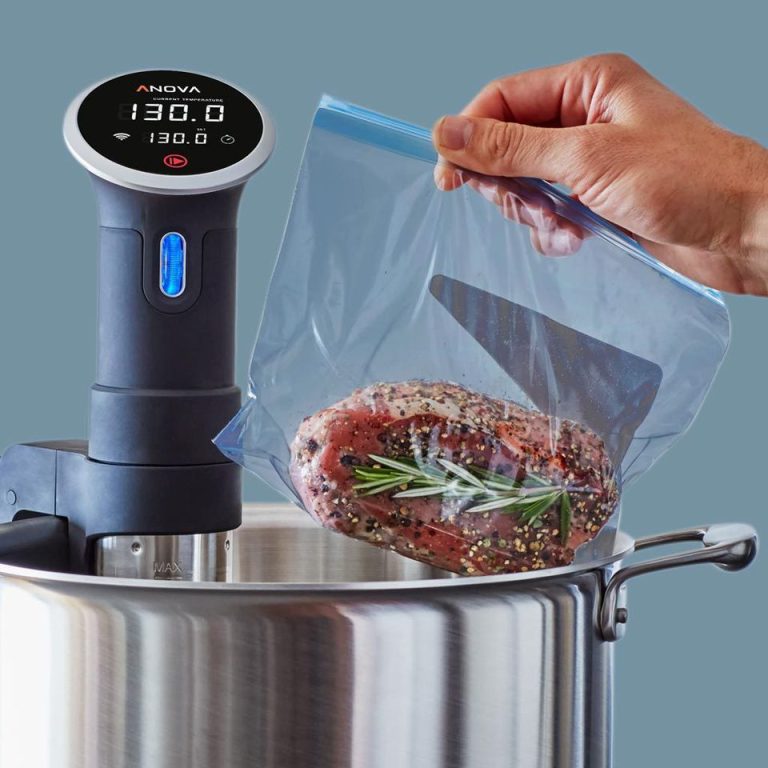
As soon as the strike water has been heated to 150°F (65.5°C), insert the brew bag into the kettle and secure it.
A couple of binder clips can be used to keep the bag in place around your Sous Vide while it cooks.
To avoid clumping, slowly pour all of your milled malts and flaked corn into the bag and stir the mixture. Set a timer for 60 minutes and get started.
A normal reaction would be to keep an eye on your thermometer, switch out your heating source, and clench your fists when the temperature fluctuated over and below the set point.
There’s no need to worry about this happening this time around! It’ll be OK with the Sous Vide.
There are no restrictions on the activities you can partake in while using this device. It’s a good idea to give the kettle a swirl every now and then.
The Boil
For thousands of years, the world’s best beer-makers and homebrewers have relied on the simple, yet critical, process known as “boil.”
While the precise definition of the word boils across different regions of the world, all forms of the process have in common a large pot of boiling water that’s used to heat up the ingredients for brewing beer.
The boiled ingredients—malt, hops, yeast, or whatever—are then strained out into a fermenting vessel where they’re left to rest and ferment.
Chill Your Wort
We’ll help you brew the perfect batch of beer—and get you to the point where you can brew on a regular basis.
We’ll start with the basics: what to look for in a good home-brewing setup, how to choose a recipe and the best ways to make sure you have the best ingredients.
From there we’ll move on to brewing techniques that will help you get the most out of your equipment and ingredients.
And finally, we’ll show you how to make the perfect beer. The last step is all about adjusting your ingredients, process, and time until you get the flavor you want.
Transfer and Pitch Yeast
Homebrewing is a hobby for many, but it can also be a way to make a living if you learn the ropes.
For some homebrewers, this means that they have to master the art of pitching and transferring yeast.
Yeast is the key ingredient that will transform your home-brewed beer into an alcoholic beverage. There are a few ways to go about this task, and I’ll show you one of them today.
Ferment
I ferment at 55 C and then let it cool. Then place the bag in a cooler filled with ice and water. Let it sit there for 24 hours.
After that time, I move the bag into a container and store in the fridge for about 2 weeks. If you don’t, then it will probably be funky when you open it up.
Conclusion
So, if you want to try it out, you should go ahead. I’m sure you’ll be amazed at how easy it is to make delicious beer at home.
There are a few things that you need to know before starting though.
First off, don’t try to make beer your first time. You have to get used to making liquid, fermenting, and storing it.
If you’re not comfortable with those tasks, you may want to wait a bit before trying this method.
Second, you don’t need to spend a lot of money to buy all the equipment you need. In fact, the cheapest option is often the best.

Foodie and a passionate cook, I am here to share all of what I know about cooking, kitchen, and food prepping.
Follow me for delicious and healthy recipes.