How Can I Remagnetize a Freezer Door Seal?
Imagine if you were to cook steak and eggs for breakfast.
To make sure everything goes without a hitch, you prepared your chopping board, knife, skillet, and a probe meat thermometer.
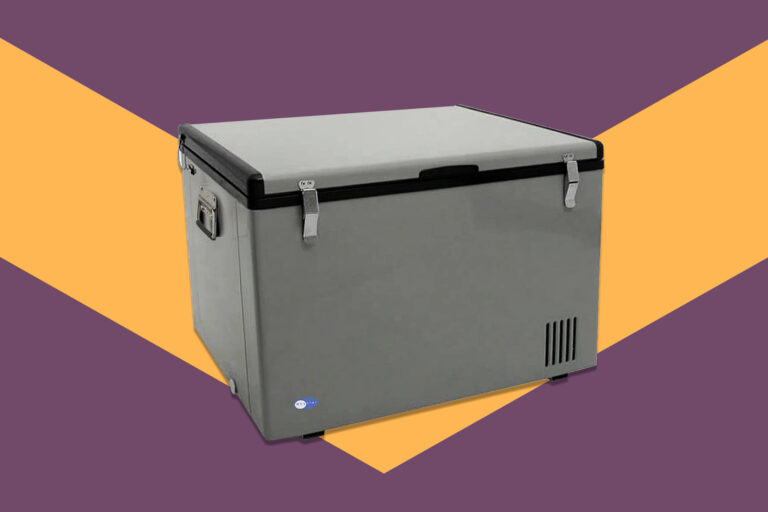
When you walk up to your freezer, your goods are not frozen. If the freezer was unplugged or the temperature controller was turned off, that’s when you check.
It was not true that they were. You discovered that the seal had become faulty. How do you fix the problem?
A faulty freezer door seal can be re-magnetized to prevent it from popping open on its own again.
Don’t rush to the nearest repair or appliance center if your freezer seal isn’t working properly.
Run a strong magnet along the gasket to make the rubber seal magnetic again and bring back the snugging function.
The whole door seal can be damaged if this method is not carried out properly.
It may seem easy to remagnetize the freezer door seal, but that is not the case. We are going to look into this method to make sure your freezer door is tight again.
Table of Contents
Is it possible to Remagnetize a freezer door seal?
Freezer door seals, also known as gaskets, are magnetic rubber strips that keep your freezer sealed. There are door seals that can become loose with continuous usage.
There is a way to Magnetize a freezer door seal again. The most straightforward method is used below.
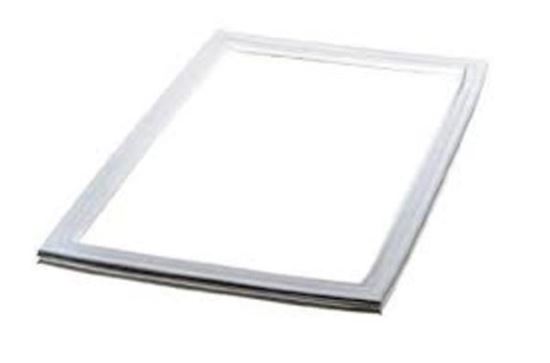
Run a magnet on the rubber seal
This is the only method you can use to remagnetize freezer door seals at home. If you want to do this method, you have to find a magnet with a strong coercive force.
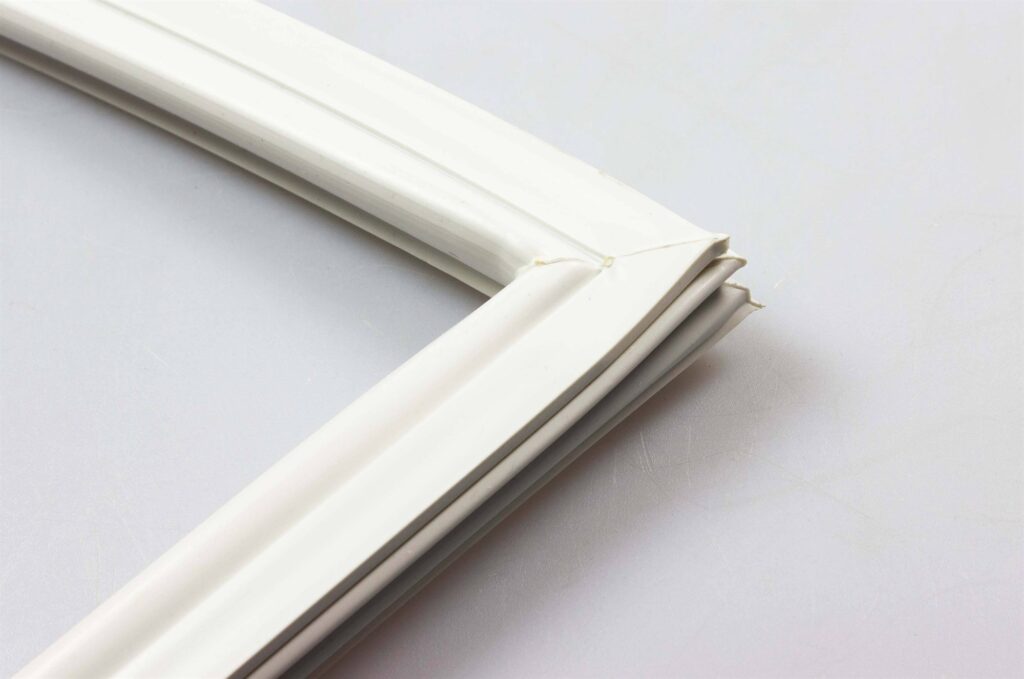
50 times in the same direction, run the magnet on each piece of the gasket. The rubber seal will be charged by the magnetic strength and current of the neodymium magnet.
Only use this method if you are certain that the reason the freezer door is opening on its own is because of the lack of magnetic force in the gasket.
The whole gasket can be rendered useless if the whole method is used unnecessarily. Don’t hesitate to call a repairman, if you don’t feel confident in your abilities.
How Can I Identify If My Freezer Seal Is Bad?
It is recommended that you check this part of the freezer at least once a year.
If there are cracks or cuts on the door seal, it may be time to perform a full check to determine the best way to repair it.
There are two other signs that the freezer seal has gone bad, which is an obvious indicator.
It is possible to determine these symptoms without having a degree in electrical engineering. The only thing you need to do is conduct a thorough visual inspection.
Foods don’t cool and spoil fast
The warm or undesirable temperatures inside the freezer can be caused by faulty gaskets. How did the result come about?
Foods are only kept chilled and spoiled fast. Since the freezer is warm, it will try to work twice as hard to bring the temperature down, which equates to a higher electricity bill.
Too much condensation
The rubber seals allow the air inside the freezer to be moist. Extra condensation can cause damage to the inner workings of the appliance, especially the condenser.
How do you make your freezer door seal better?
Slow it down if you can because you can’t prevent the freezer door seal from loosening. It is the most effective way to make the freezer door seal better to make sure it always fits in the doorway.
The rubber seals can be heated up from time to time. There is a hairdryer you need for this process. The hair dryer has to be positioned 6 to 8 inches away from the gasket.
Allow the hot air to blow on the rubber seal until it becomes compact again, then set in on medium.
Lift the gasket out in areas where there is a gap. To get rid of the gap, let the hot air blow on the rubber seal until it gets rid of it.
Is It Possible to Reseal a Freezer Door?
Resealing the ripped, torn, or cracked parts of the gasket is not possible because you can slow down the loosened gasket.
If you do the following steps, you will be able to prevent the cold and hot air from leaking into and out of the freezer.
You Need to Remove the Built-up Dirt and Oil on the Gasket
The dirt, oil, grime, and mold on the surface, as well as the grooves, are often the reason why freezer door seals become problematic.
The gasket is unable to keep the cold inside the freezer because of the elements interfering with it.
A cleaning solution consisting of warm water, dishwashing or detergent soap, and vinegar is needed to completely clean off the dirt.
This type of solution is used to break up the grease on the rubber seals. Take a clean cloth and put it in warm soapy water.
It’s a good way to get rid of the dirt on the gasket. The water must stay warm during the whole cleaning process.
The rubbers will be more flexible if the water is kept warm. It makes the rubber contract stronger to fit the door’s surface.
If you want to clean the grooves of grime, use a toothbrush. When cleaning the freezer, some repair centers recommend removing the gasket.
You can submerge the entire rubber seal in warm water, which is more effective in returning the seal’s malleability. Don’t bend the gasket too hard to prevent it from damaging it.
You Need to Apply Petroleum Jelly on the Gasket
The gasket should be let dry. The whole gasket line should be applied with a lot of petroleum jelly. All of the surfaces, gaps, tears, and rips need to be covered with the jelly.
The freezer rubber seal will be repaired with the help of petroleum jelly. It’s not something most people know, but the gasket on your freezer door can dry out.
The gasket becomes less effective when it becomes harder to seal the cold. Applying a thin film of petroleum jelly can help lock in the moisture after cleaning.
As a result, the freezer door’s ability to seal will be restored and it will be possible to keep the freezer doorway shut.

How Can I Test a Freezer Door Seal?
You need to check if every process worked after you have done all of the above methods. There are several ways to test the results of your freezer door seal repair sessions.
Paper test
If you want to find out if you have properly repaired the freezer door seal, you can use a dollar bill or paper to trap the gasket.
The gasket is not yet sealed properly if the test material comes off quickly. A properly sealed freezer door has to be able to resist the pull.
Check with your hands
The temperature of the freezer should be raised to test this method.
If there is cold air leaking out of the door after 30 minutes, run your hands on the door. Any area where air escapes should be reapplied with petroleum jelly.
Flashlight test
I am not convinced that the preceding methods will help.
The flashlight method is the best way to seal the deal. Turn the flashlight on and leave it in the freezer. Light can be blocked from coming through the sealed freezer door.
Conclusion
In our homes, a freezer is an important appliance. Simple problems like faulty door seals can translate to higher expenses on food.
Replacing the rubber seal is not economical and might seem easier. If you attempt to repair the seal with the simple hacks on this website, you might be able to solve the problem.

Foodie and a passionate cook, I am here to share all of what I know about cooking, kitchen, and food prepping.
Follow me for delicious and healthy recipes.