How Long to Sear Steak After Sous Vide?
Sous vide cooking is one of the most popular ways to cook food at home. It has been around for years, but only recently has it become very affordable and easy to use.
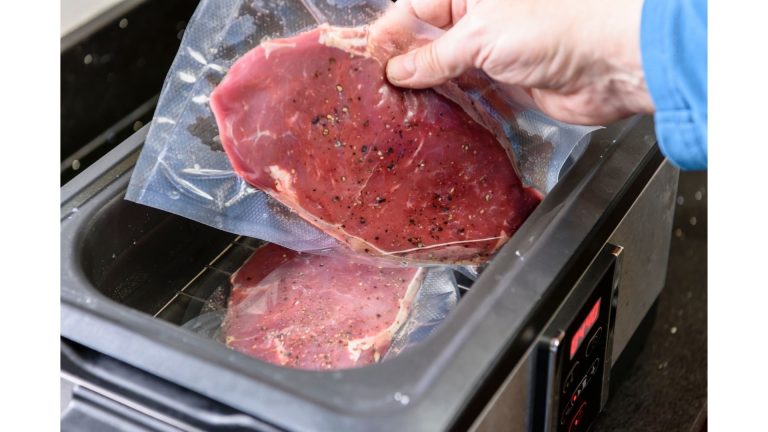
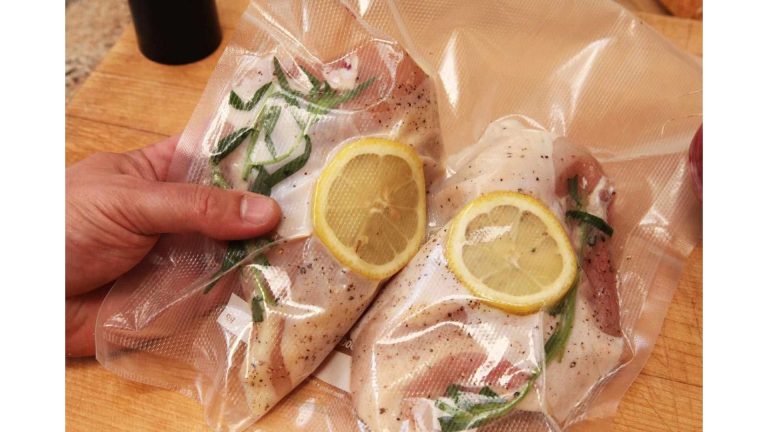
Sous vide cooking involves cooking food in a bag, usually made of plastic or aluminum foil, in a water bath at a low temperature.
There are several benefits to sous vide cooking, including that you can cook food to a specific temperature.
You can cook food to be served immediately or later in the day. And, you can cook food that will remain moist.
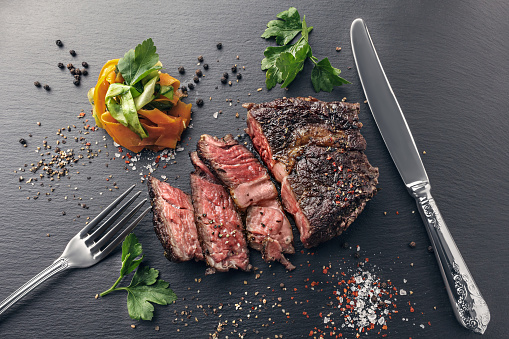
But you might have observed that your steaks don’t look their best right after you pull them out of their vacuum bag. Why that?
This is due to the fact that they lack an essential step – Searing!
The time for searing steak is usually determined by its thickness.
Thin cuts such as filet mignon or chicken breast should be done about 3 minutes per side.
Thicker steaks like rib eyes or New York strip steak should be seared on each side for 4 to 6 minutes.
Table of Contents
Why Searing Is Important?
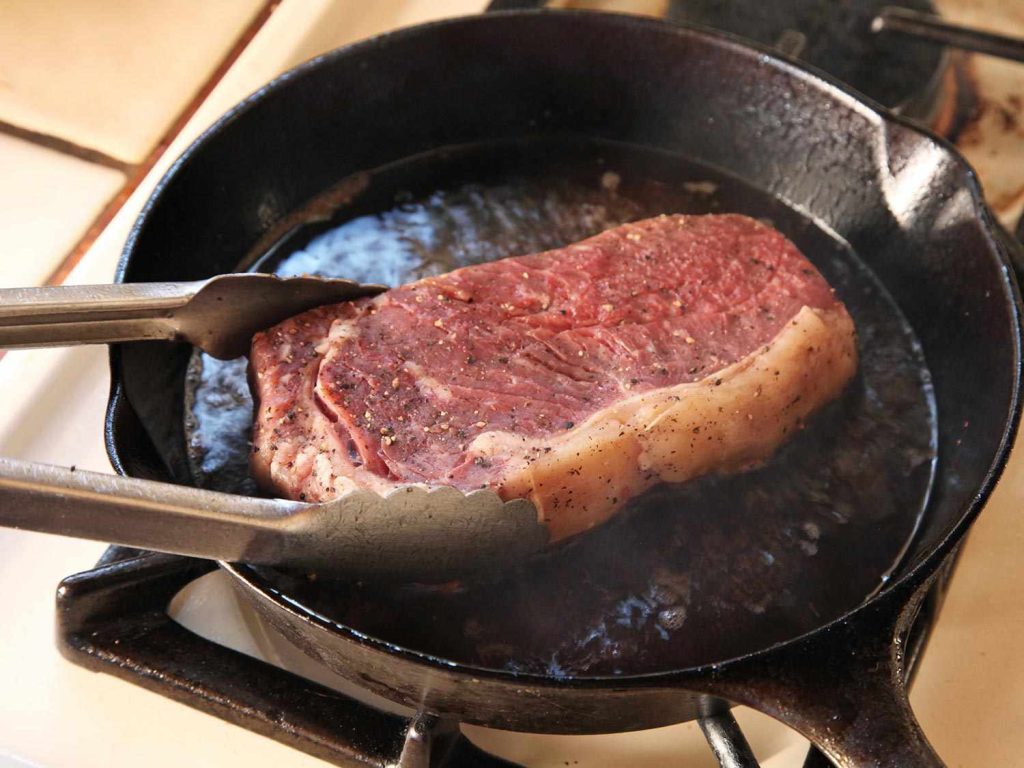
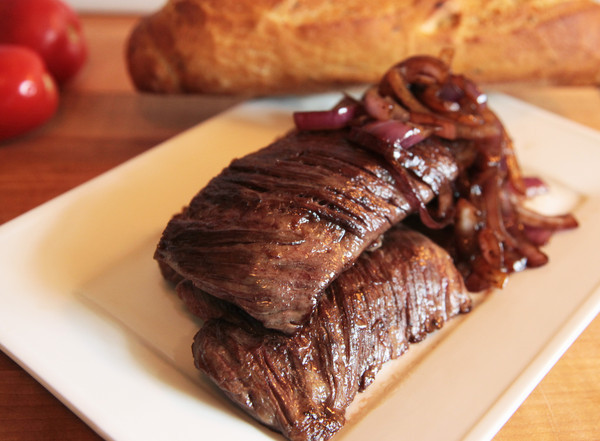
Searing is a quick, easy way to cook meat. It caramelizes the outside of the meat and adds flavor and color. And, the steak can be served right away, without the need for a pan sauce.
There are several reasons why you should sear sous vide steak:
1. Searing caramelizes the natural sugars contained in the flesh, resulting in a beautiful brown coating on the outside of the meat.
2. It gives the steak a nice crusty exterior.
3. It makes the steak more flavorful. It releases the flavors trapped inside and adds an aroma to your steak.
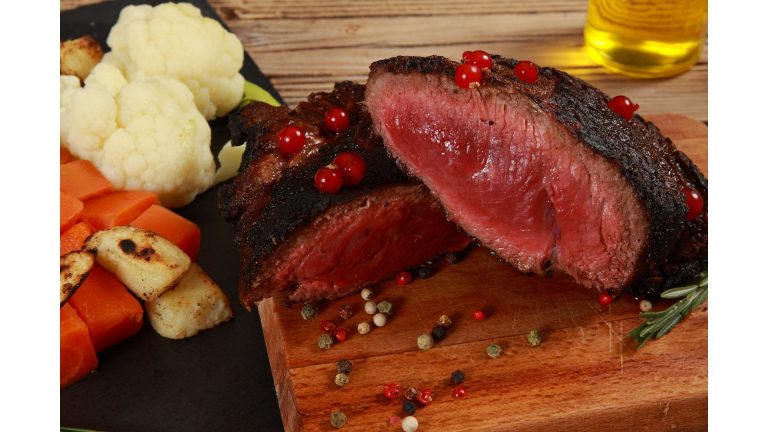
6. It gives you control over the doneness of your steak. It allows the steak to be served rare, medium, or well done.
5. It preserves the natural juices in the steak.
6. It allows the steak to be cooked evenly.
7. It keeps the steak tender.
See also: The Ultimate Guide to Searing Steaks After Sous Vide
Why Sear After And Not Before?
Applying the sear after the meat has been cooked allows you to have greater control over the process of searing and how much done you want it.
When you consume the steak right after searing, you can feel the freshness of the sear while you eat it. If you sear your meat before sous vide then the cooking will cause it to lose that freshness.
The same goes for the flavor and particularly the texture of the crust. These are enhanced by searing and if you sous vide after that, your steak will lose them.
The best way to enjoy those delicious crispy edges and caramelized meat is direct from the pan or the grill.
What Kitchen Equipment You Need For Searing?
When it comes to searing a steak, there are several options available. In addition, the type of cooking equipment you’ll need may vary depending on the approach you pick.
Let’s talk about some of the methods and the tools you’ll need to do them.
Pan
You may either sear your steak in a hot skillet or use a grill pan to cook it. Pan searing produces excellent results, but it is a tough technique to perfect.
When done correctly, it produces a uniform crust around your steak, but you must manoeuvre extremely cautiously while doing so.
Broiler
If you don’t have the correct pan or don’t have the essential skills for pan-searing, broiling your meat is a quick and easy alternative to pan-searing.
Oven
You may alternatively cook the steak in the oven by placing it on a baking tray.
Grill
Simmering your steaks on the top of a grill is another excellent option that yields fantastic results.
It has the ability to create a very realistic barbeque-like feel. It also has a flavour enhancing effect.
Sous Vide Torch
These days, you may even sear your meat using sous vide equipment that has been expressly designed for this purpose.
It’s an effective and easy way that allows you to maintain complete control over the process while also producing incredible outcomes.
Our Favourite Method: Pan Searing! Here’s An Easy Guide
Simply said, the basic pan sear will deliver outstanding results. No more equipment is required because the great majority of us already have plans in our homes, so there is no need for any additional equipment.
It generates the best type of sear since it evenly spreads the heat throughout the dish, resulting in a gorgeous crust all over the surface.
When it comes to preparing a steak, this approach is quick and simple. Follow the step-by-step instructions below to complete the task yourslef, quickly and easily.
1. Get the pan hot:
When pan-searing, you must make certain that the pan is extremely hot. Place it over the fire and turn up the heat to its highest setting.
When searing, the greatest results are obtained with a well heated pan.
2. Add some oil and other ingredients
To sear the meat, you’ll need to add a little fat or oil to the pan before you start cooking. Keep the heat between medium and high while adding the oil.
If you want to make the steak more interesting, you can also add other ingredients to the pan.
Add some garlic, rosemary, or thyme to make it more flavorful. You may also season the dish with a pinch of salt, pepper, or paprika.
Remove any excess moisture from the steak by patting it dry with paper towels after it has been cooked.
It is now time to get started.
3. Apply downward pressure on the meat:
As soon as you’ve poured a small amount of fat or oil into the pan, place the steak on the pan and press down on the flesh.
Make certain that it contacts the pan’s surface in an equal manner. This will aid in the correct searing of the steak.
By pushing down on the meat with a spatula, you may achieve this result. You may also use a fork to push down on the meat to make it more tender.
4. Give it time
Preheat the grill for approximately 60 seconds on each side. Flip it over and manoeuvre it with care.
5. Allow time for the meat to rest:
After you’ve browned the steak, you may set it aside for a few minutes to let the flavours blend.
You may set it alone for 5 minutes before serving. This will allow the meat to cool down and come to a halt in the cooking process. Making it ready to eat.
FAQs
How long should you sear a steak after having cooked it?
The duration of time you cook a steak once it has been sous vide depends on a variety of factors, ranging from individual preferences to the technique you are employing.
Generally, searing a steak for approximately 40 to 60 seconds of time on each side while using a pan. And this is sufficient to provide a great sear on both sides.
How long do you have to wait before you can sear after sous vide?
If the steak is kept properly sealed in the vacuum bag, you can let it be there for up to three days and take it out only when you are ready to sear.
However, It will be necessary to warm the steak prior to the searing step, but this may be accomplished with the help of a sous vide machine as well.
Final words
Thanks to sous vide technology, preparing a perfectly cooked steak is now simpler than ever.
This method of slow cooking is both safe and easy enough that you don’t have to be an expert.
Cooking your steaks on sous vide will however require a lot more. You will need to sear it perfectly to get that finger-licking taste that you want.
There are a variety of methods that may be used to sear delicious steaks. However, we have presented a straightforward yet highly effective way.
So follow the steps properly and make finger-licking steaks right away!

Foodie and a passionate cook, I am here to share all of what I know about cooking, kitchen, and food prepping.
Follow me for delicious and healthy recipes.

