Meat Grinder Keeps Clogging – How To Fix It?
Certainly, you aren’t doing something right if your meat grinder isn’t working frequently.
Things you can do to avoid a future occurrence will be explained by me after I walk you through the meat grinder’s unclogging process.
The easiest way to clean a meat grinder is to remove the hopper and feeder and then pour a little hot water and vinegar into the hopper to clean out the grinder.
Let the grinder soak for a few minutes, and then start grinding again.
You can also run the grinder on the slowest setting for five to ten minutes and then turn off the motor. The grinder should be good to go after that time.
Here are some cleaning steps that you can use to clean your meat grinder, just follow them and you will be fine.
Table of Contents
Steps To Fix A Clogged Meat Grinder
Materials Needed
- Dish soap
- Baking soda
- Bottlebrush
- sponge
Disassemble Your Meat Grinder
When you discover that your meat grinder is malfunctioning, the first thing you should do is disassemble it.
If you do this, you will be able to gain access to the area where the meat is likely to get stuck. It can be used to clean the blades and other grinding mechanisms.
Ensure that the motor part of the electrical grinder does not come in contact with water when dismantling it.
If you don’t know how to disassemble your meat grinder, you should refer to the user manual, which should have a picture illustration of how you can do it.
Remove The Meat Particles
After dismantling your meat grinder, you should be able to use the bottle brush in certain areas where your finger or sponge is not likely to reach, such as the food channel consisting of the Hopper.
Your meat grinder needs to be cleaned after you have finished removing meat particles.
Soak The Parts
The warmer the water, the better it is. The pieces of meat that are stuck in the meat grinder will be softened after being soaked in warm water.
It is easy to get rid of oil in the parts if you use the washing liquid in warm water. It’s a good idea to soak the parts for about 45 minutes.
Clean The Parts
You should use your sponge to clean your meat grinder after soaking the parts.
Baking soda can be added to your sponge before you scrub it because of the greasy nature of your meat grinder. Before you wash the soap with water, make sure you do a thorough job.
Don’t let the parts air dry for a while to prevent them from rusting.
If you know how to prevent clogging from becoming a common theme when you grind meat, then you can reassemble your meat grinder to continue grinding.
How To Identify If My Meat Grinder Is Clogged?
When the meat coming out from the outlet is slower than it usually is, your meat grinder is not working as well as it should.
The problem should be fixed once and for all if you follow the steps above.
How To Keep Meat Grinders From Clogging?
Homeowners who grind meat on their own are the most likely to experience clogging. Simple steps can help eradicate such from happening.
Trim Off The Excess Fat
If you’ve cleaned your meat grinder, you’ll know that one of the parts you’re likely to notice is fat and new meat.
More often than not, these parts of the meat are the ones that cause your meat grinder to get stuck whenever you grind.
These would not pose a serious challenge for an electric meat grinder, but you need to take precautions.
Watch The Kind Of Bones
Persons with pets are more likely to grind meat with bones, so make sure your meat grinder is well suited to grind bones before doing so.
Not all meat grinders are designed to grind bones, and even if they are, only weak bones are appropriate.
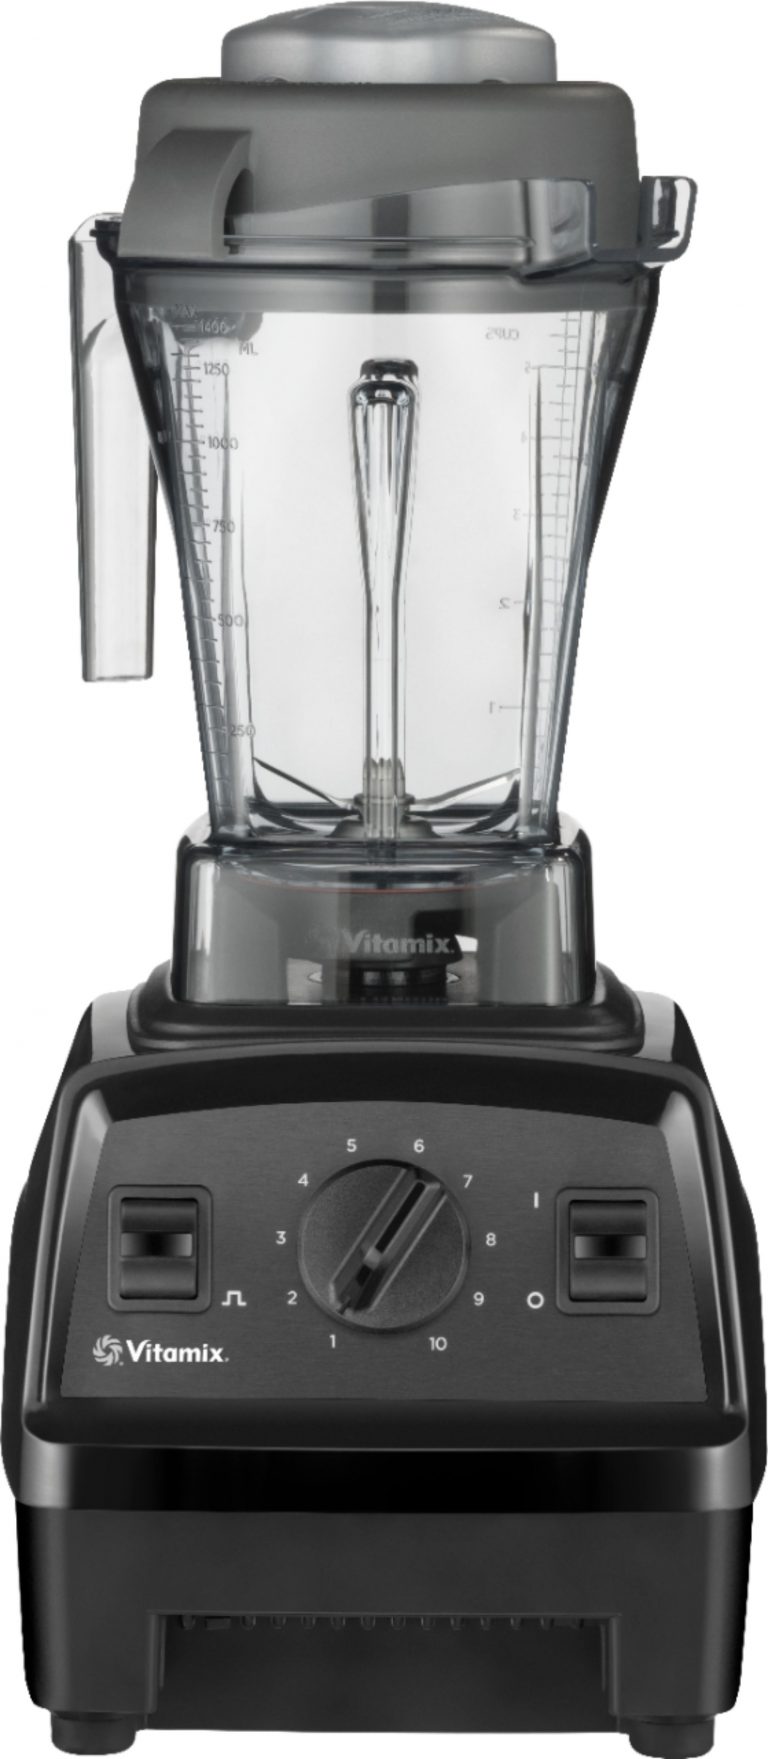
If you feel like you need to grind bones on your own, you can use a heavy-duty meat grinder or a blender. It is better to have a meat grinder that is full of meat than it is to have bones.
Maintain The Blades
Frequent use of the meat grinder can cause the blades to be dull, which can slow down the process of grinding your meat, making it a very possible phenomenon.
It’s possible to avoid this by getting replacement blades or sharpening the blades.
If you follow the two procedures above, the meat grinder’s sharper blades will be less likely to cause problems.
Clean Your Blades Properly
After every use, make sure the blades are cleaned and dried. A blade that is properly dried is healthy.
If the meat grinder blades are not dried, you shouldn’t attempt to reassemble them. I clean my meat grinder after every use, even though I don’t know about you.
The more often you clean your meat grinder, the fewer meat particles you get out from critical channels in your meat grinder, which can cause your meat grinder to accumulate gunk.
You can always grind slices of bread after grinding your meat if you happen to be in haste.
This will help in absorbing any form of oil left during the grinding process while pushing out other particles of ground meat as it has been one of the main factors of blunt grinding blades.
Cut Your Meat Into Pieces
When grinding, the time that was spent cutting your meat is recovered.
When you chop your meat into smaller pieces, it makes it easier for the blades to grind your meats compared to tossing them in their large size.
Smaller chunks of meat are more likely to cause a problem than big chunks of meat. You must clean your meat grinder as frequently as possible.
When it comes to cleaning their meat grinder, people who are most likely to complain of clogged arteries are most likely to be at fault.
As long as you follow the simple steps outlined above, a neat and well-dried meat grinder is likely to work fine.
How To Reset A Meat Grinder?
If you purchased a manual meat grinder from a yard sale, you must carry out a set to give it a sparkling look regardless of its appearance.
You should be able to reset your meat grinder with the following steps. The electric version of the manual meat grinder is not compatible with the step below.
Materials Needed
- Bowl
- Vinegar
- Wire brush
- Paint
- Used newspaper
- Masking tape
- Sandpaper
Step 1:
The first thing you have to do is disassemble your meat grinder to get it ready to be reset or refurbished.
Make sure every part that can be removed is disassembled before anything else. You will know why this is necessary after the next step.
Step 2:
After removing the parts from the meat grinder, get a bowl large enough to hold the parts, then pour them in with homemade vinegar.
Allow the parts to sit in the bowl for between five and seven days and then put them in a container.
You need to disassemble the meat grinder down to the smallest part you can find because this time duration will allow the vinegar to get a hold of any type of bacteria that might be hidden in the meat grinder.
Step 3:
After the days of soaking are over, use your wire brush to brush the parts with seriousness.
It wouldn’t be a problem to get out of the dirt since the parts have been immersed in liquid for some days. The meat grinder has a bottle brush that you can use to narrow it down.
When you are done, you can rinse the parts with fresh clean water.
Step 4:
Next is to make sure the parts are ready to be painted.
The food section and the blade section of the grinder can be covered with used paper or old newspaper to prevent raw paint from getting into them.
Once these parts are secured, then you can proceed with the next step.
Step 5:
If you don’t know what it means to prime a metal surface or its importance, please take note; a metal surface is said to be primed when a primer or undercoat is applied to a metal surface before the actual work is done.
The paint must stick well on the metal surface when it is applied. It improves the life expectancy of the steel by helping to prevent future corrosion.
When you get the parts ready for painting, make sure you prime the metal surface to make the paint more durable and effective.
Step 6:
If you want to save time and bring out the beauty of your meat grinder, I suggest you spray paint it instead of using regular paint.
Make sure the paint gets to all of the parts by spraying it on the exposed areas. Before proceeding to the next step, leave it to dry for a while.
Step 7:
The wood handle of the meat grinder needs to be sanded after the metallic section of the paint has been sprayed.
If you want the handle to sparkle, make sure you get every aspect of it.
Making the meat grinder ready for the next step will help to improve the grip properties of the handle, as well as using sandpaper on the meat grinder to improve it.
Step 8:
The handle should be stained using finishing oil after using sandpaper on it.
In such instances, staining is important because it helps to protect the wood from further or future damage.
The color of the wood will be changed once you carry out the process, but it does not mean that the wood is distorted.
Step 9:
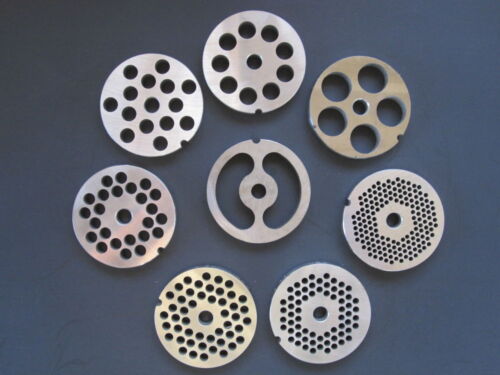
If you want the new appearance of your meat grinder to match its performance, you should replace the grinding plates and knife.
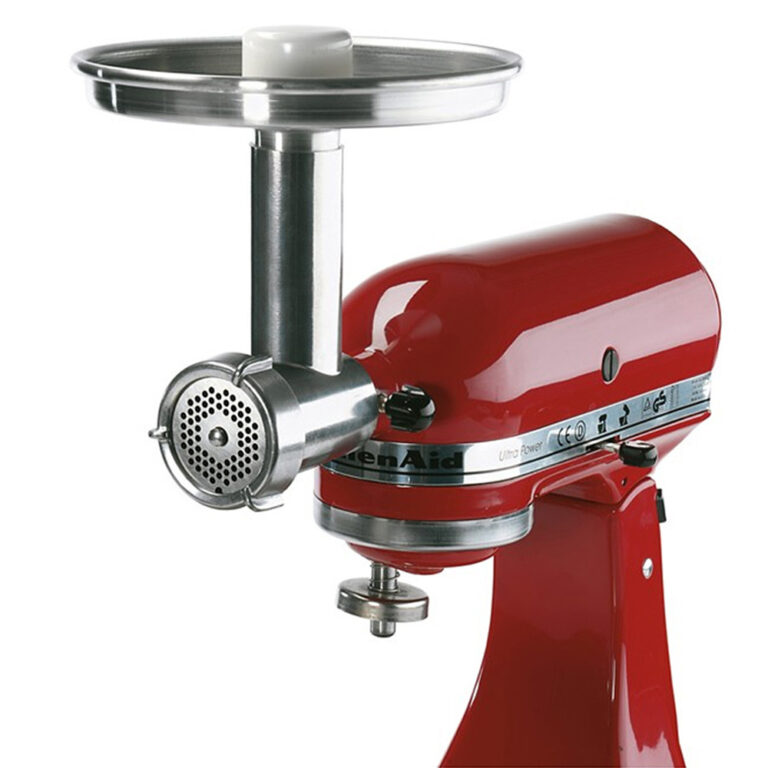
Sausage Attachments are unique and can even serve other purposes.
Step 10:
After doing everything correctly, reassemble your meat grinder and place it on a stand.
If you want to use it immediately, make sure you run garlic through the new blades and refurbished engines.
This will help eliminate any residual chemical smell that might have arisen during the setting process.
You are good to go once you have grounded some garlic and sprouted through the engines.
Are Old Meat Grinders Worth It?
Yeah, they do! The price is not as expensive as the new ones, but it can vary depending on the meat grinder in question.
If you happen to get a used meat grinder with a dull appearance, ensure you reset it with the steps I outlined above, and you can end up selling it for a higher price.
Conclusion
A strong will and resolve are enough if you want to fix your meat grinder or other issues explained in this article.
Let me know if you have any questions or observations in the comment section, and I wish you the very best in your meat grinding endeavor. Cheers!!!

Foodie and a passionate cook, I am here to share all of what I know about cooking, kitchen, and food prepping.
Follow me for delicious and healthy recipes.